Hiking from Sabino Canyon to Summerhaven: Conquering One of Arizona’s Toughest Hardest Hikes
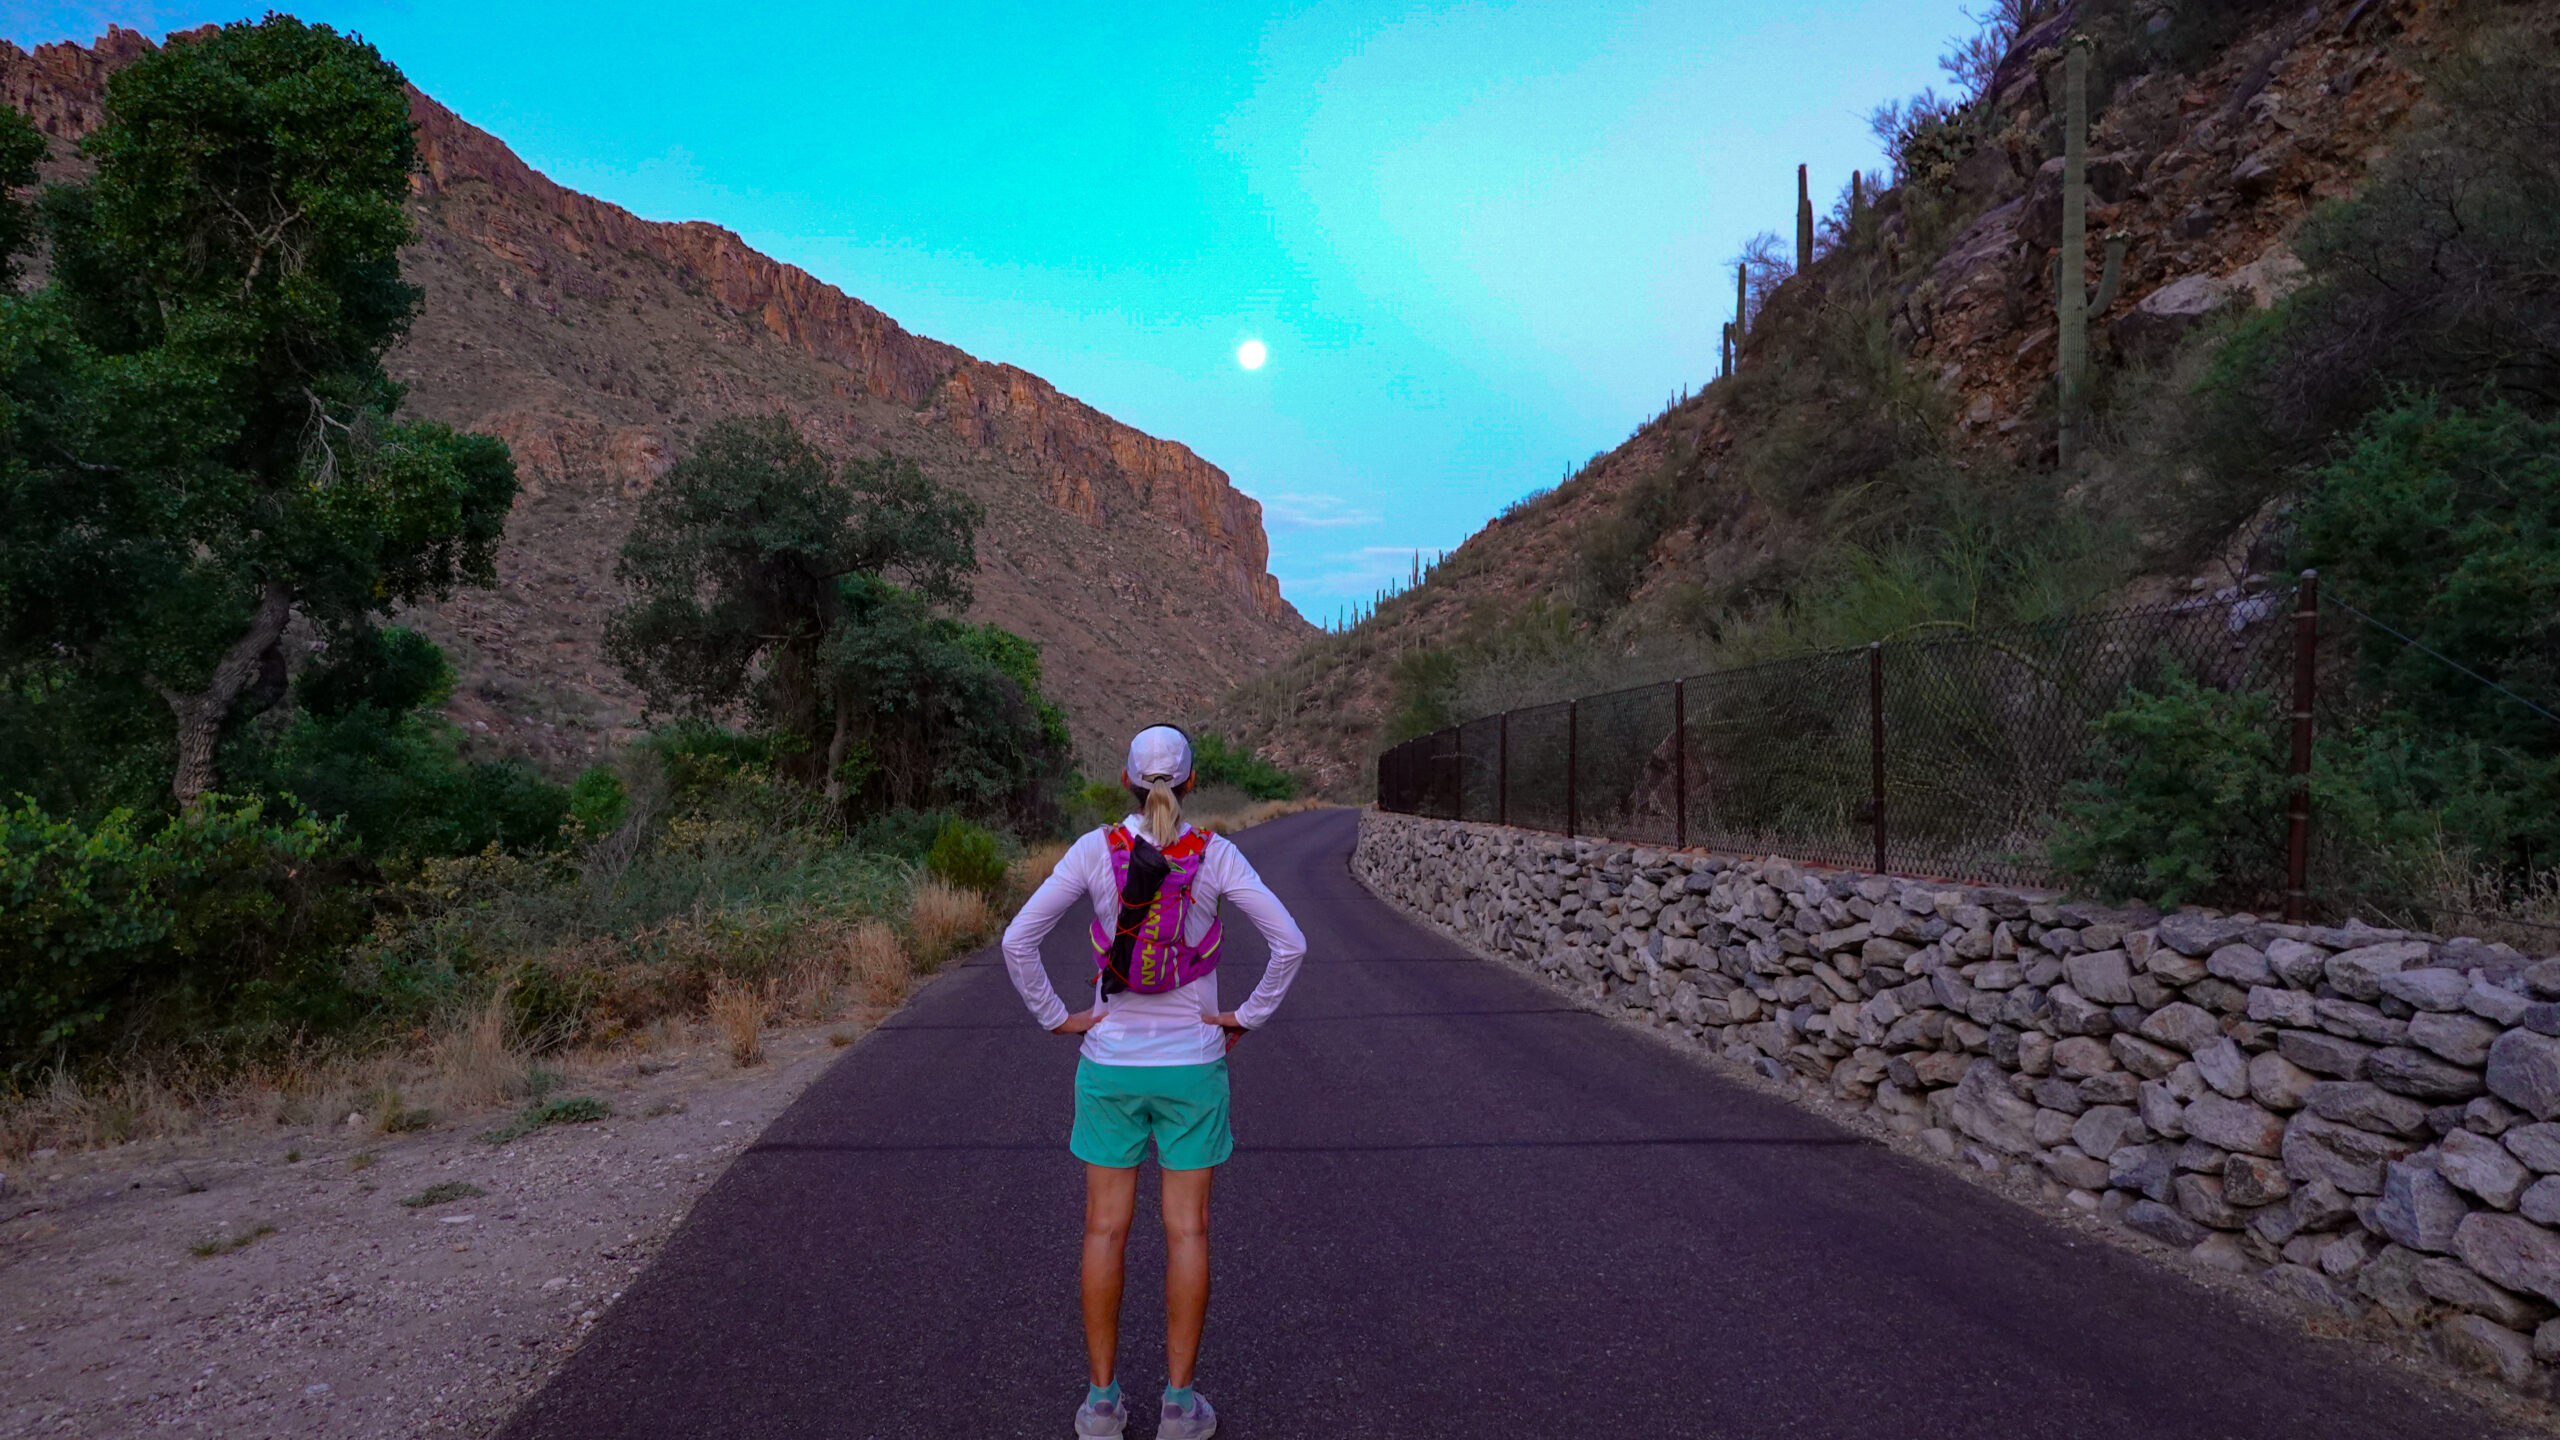
Starting your hike in Sabino Canyon, located in the Santa Catalina Mountains near Tucson, you’re greeted with stunning desert scenery. The initial portion of the trail is relatively gentle, meandering through saguaro-studded foothills and along Sabino Creek. This serene beginning belies the strenuous path that lies ahead.
Watch the video below and tell us your thoughts if you think there is a tougher harder hike in Arizona.
Arizona, a state renowned for its dramatic landscapes and challenging hikes, offers countless trails for the adventurous spirit. Among these, the trek from Sabino Canyon to Summerhaven, perched atop Mt. Lemmon, stands out as one of the most demanding and rewarding journeys.
This hike isn’t for the faint of heart, but for those willing to brave the rugged terrain, the experience is nothing short of extraordinary.
The Journey Begins: Sabino Canyon
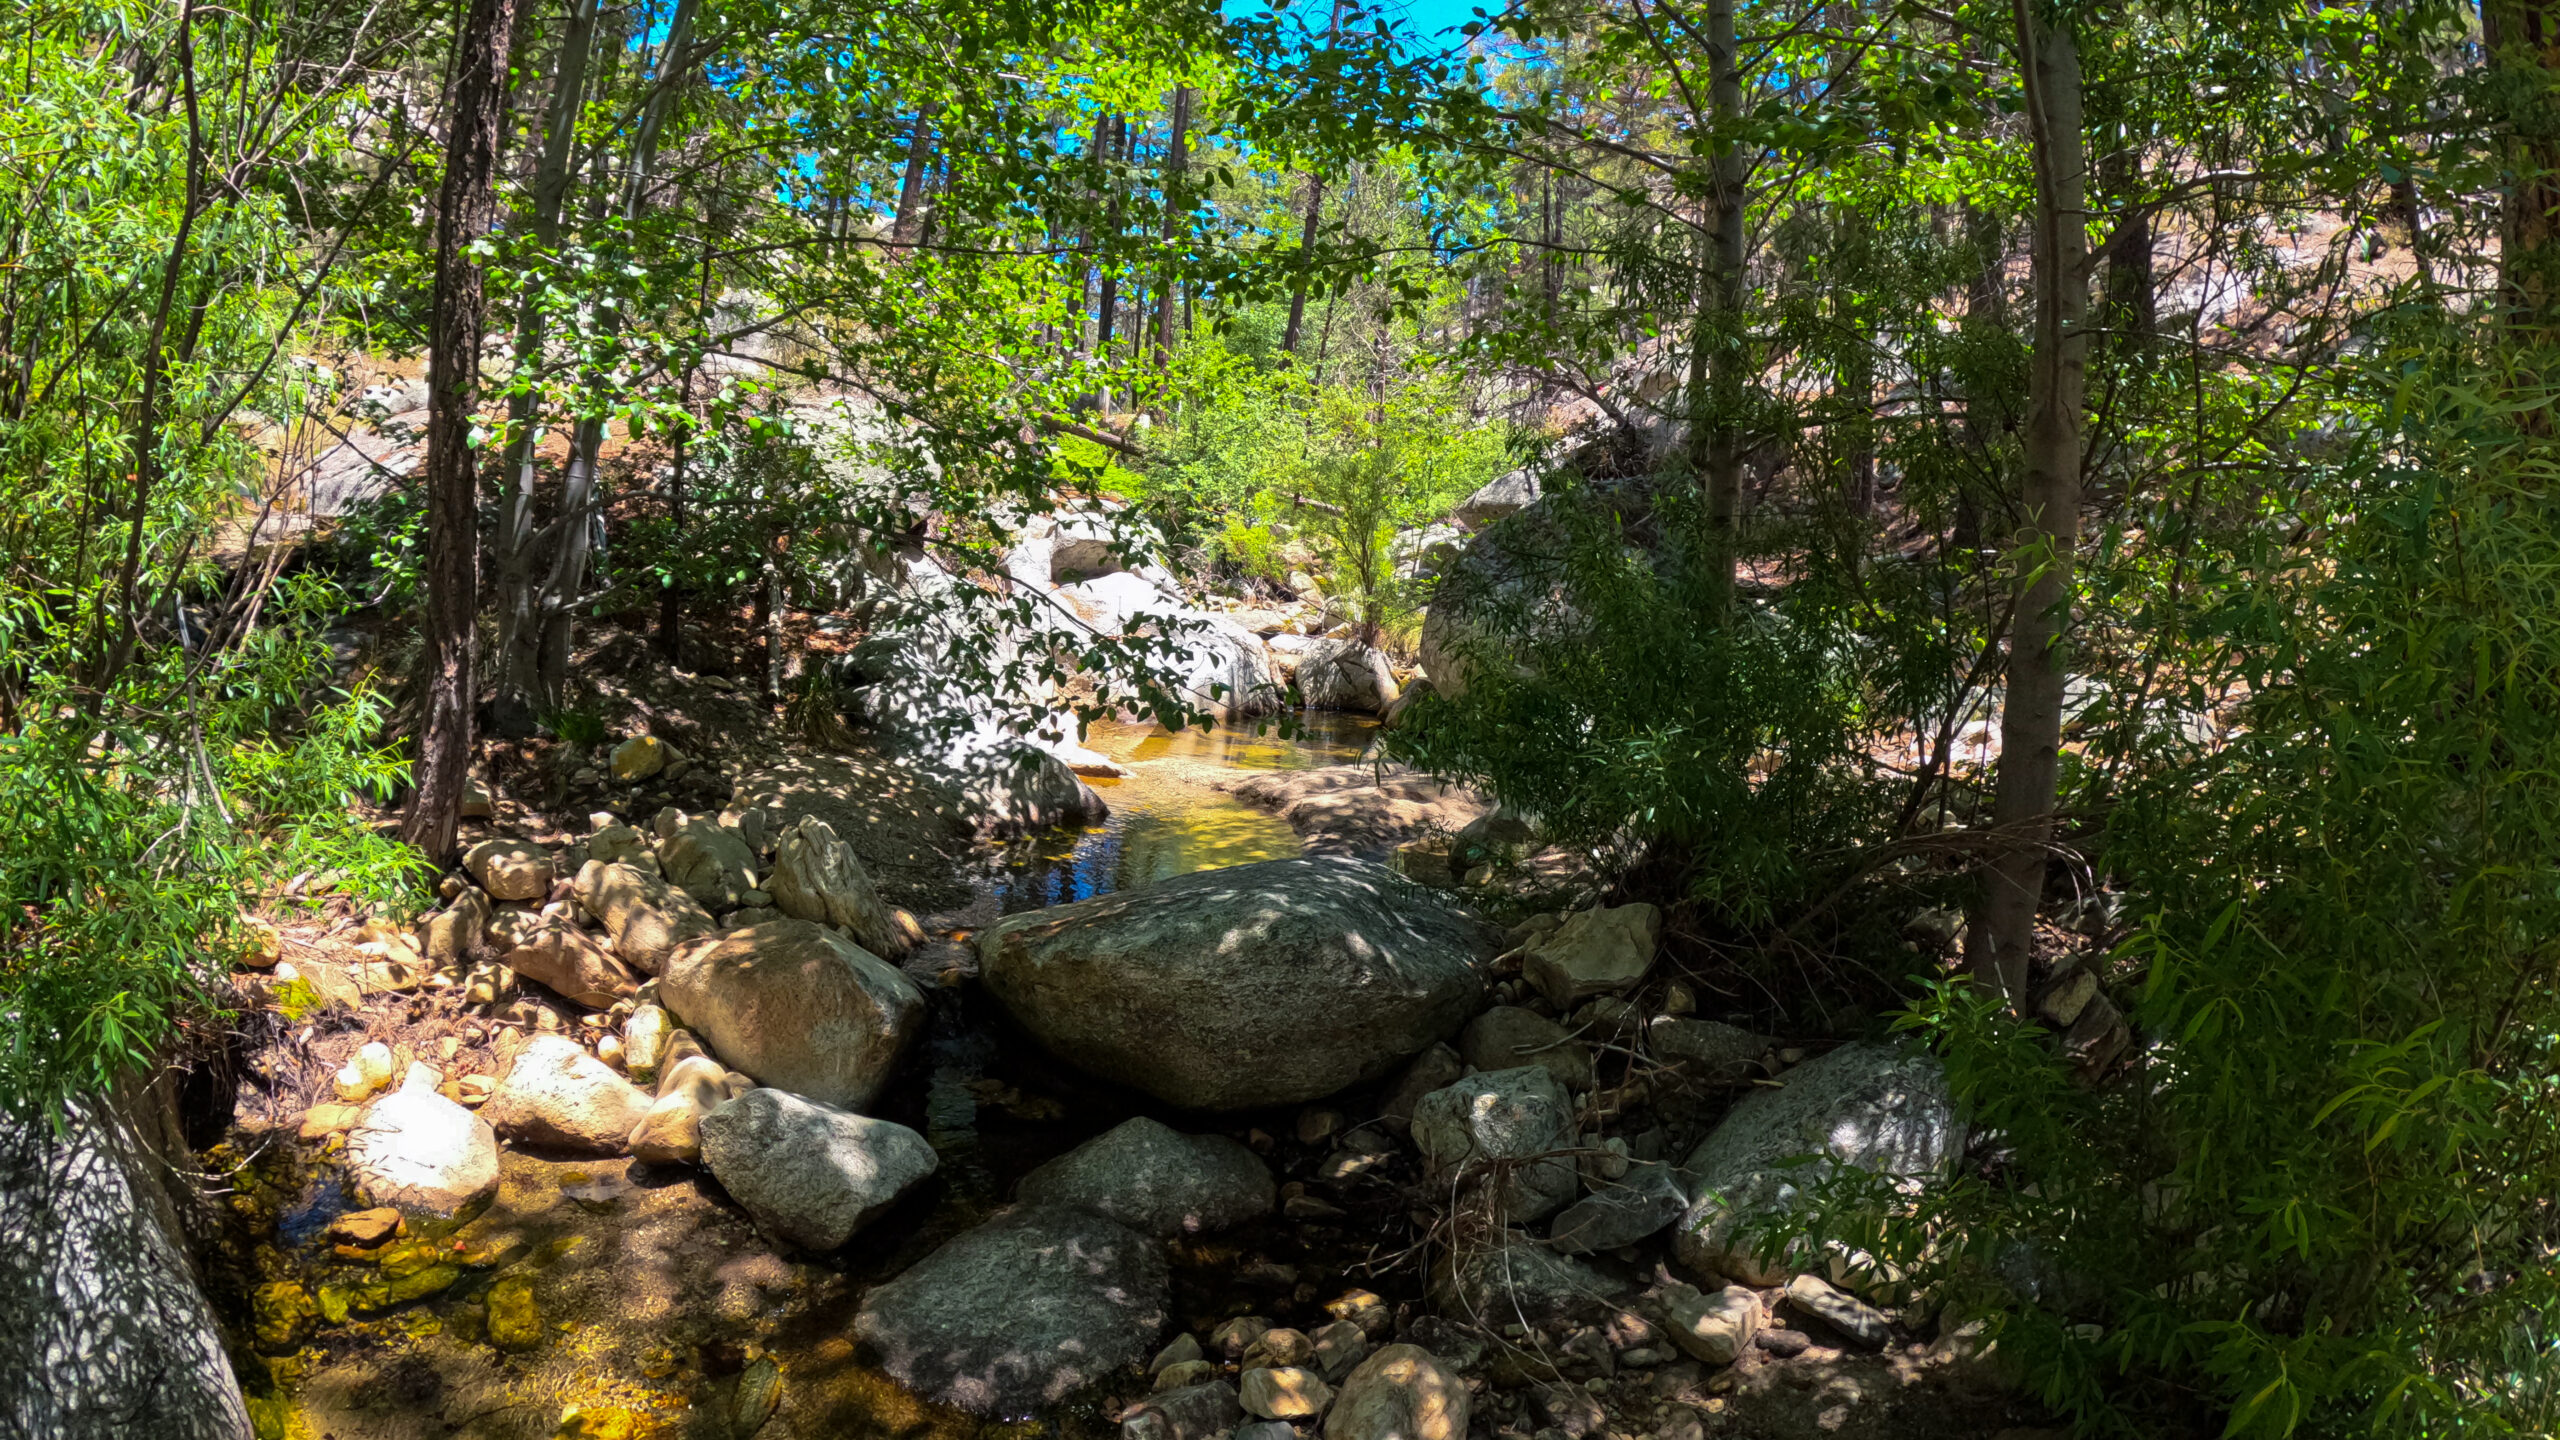
Sabino Canyon’s dramatic scenery is characterized by towering saguaro cacti, rugged rock formations, and the flowing waters of Sabino Creek. The canyon is particularly lush during the wetter seasons, when the creek is full and waterfalls cascade down the rocky cliffs, creating a stark contrast to the surrounding arid desert.
Into the Wilderness: The Phoneline and Sabino Canyon Trails
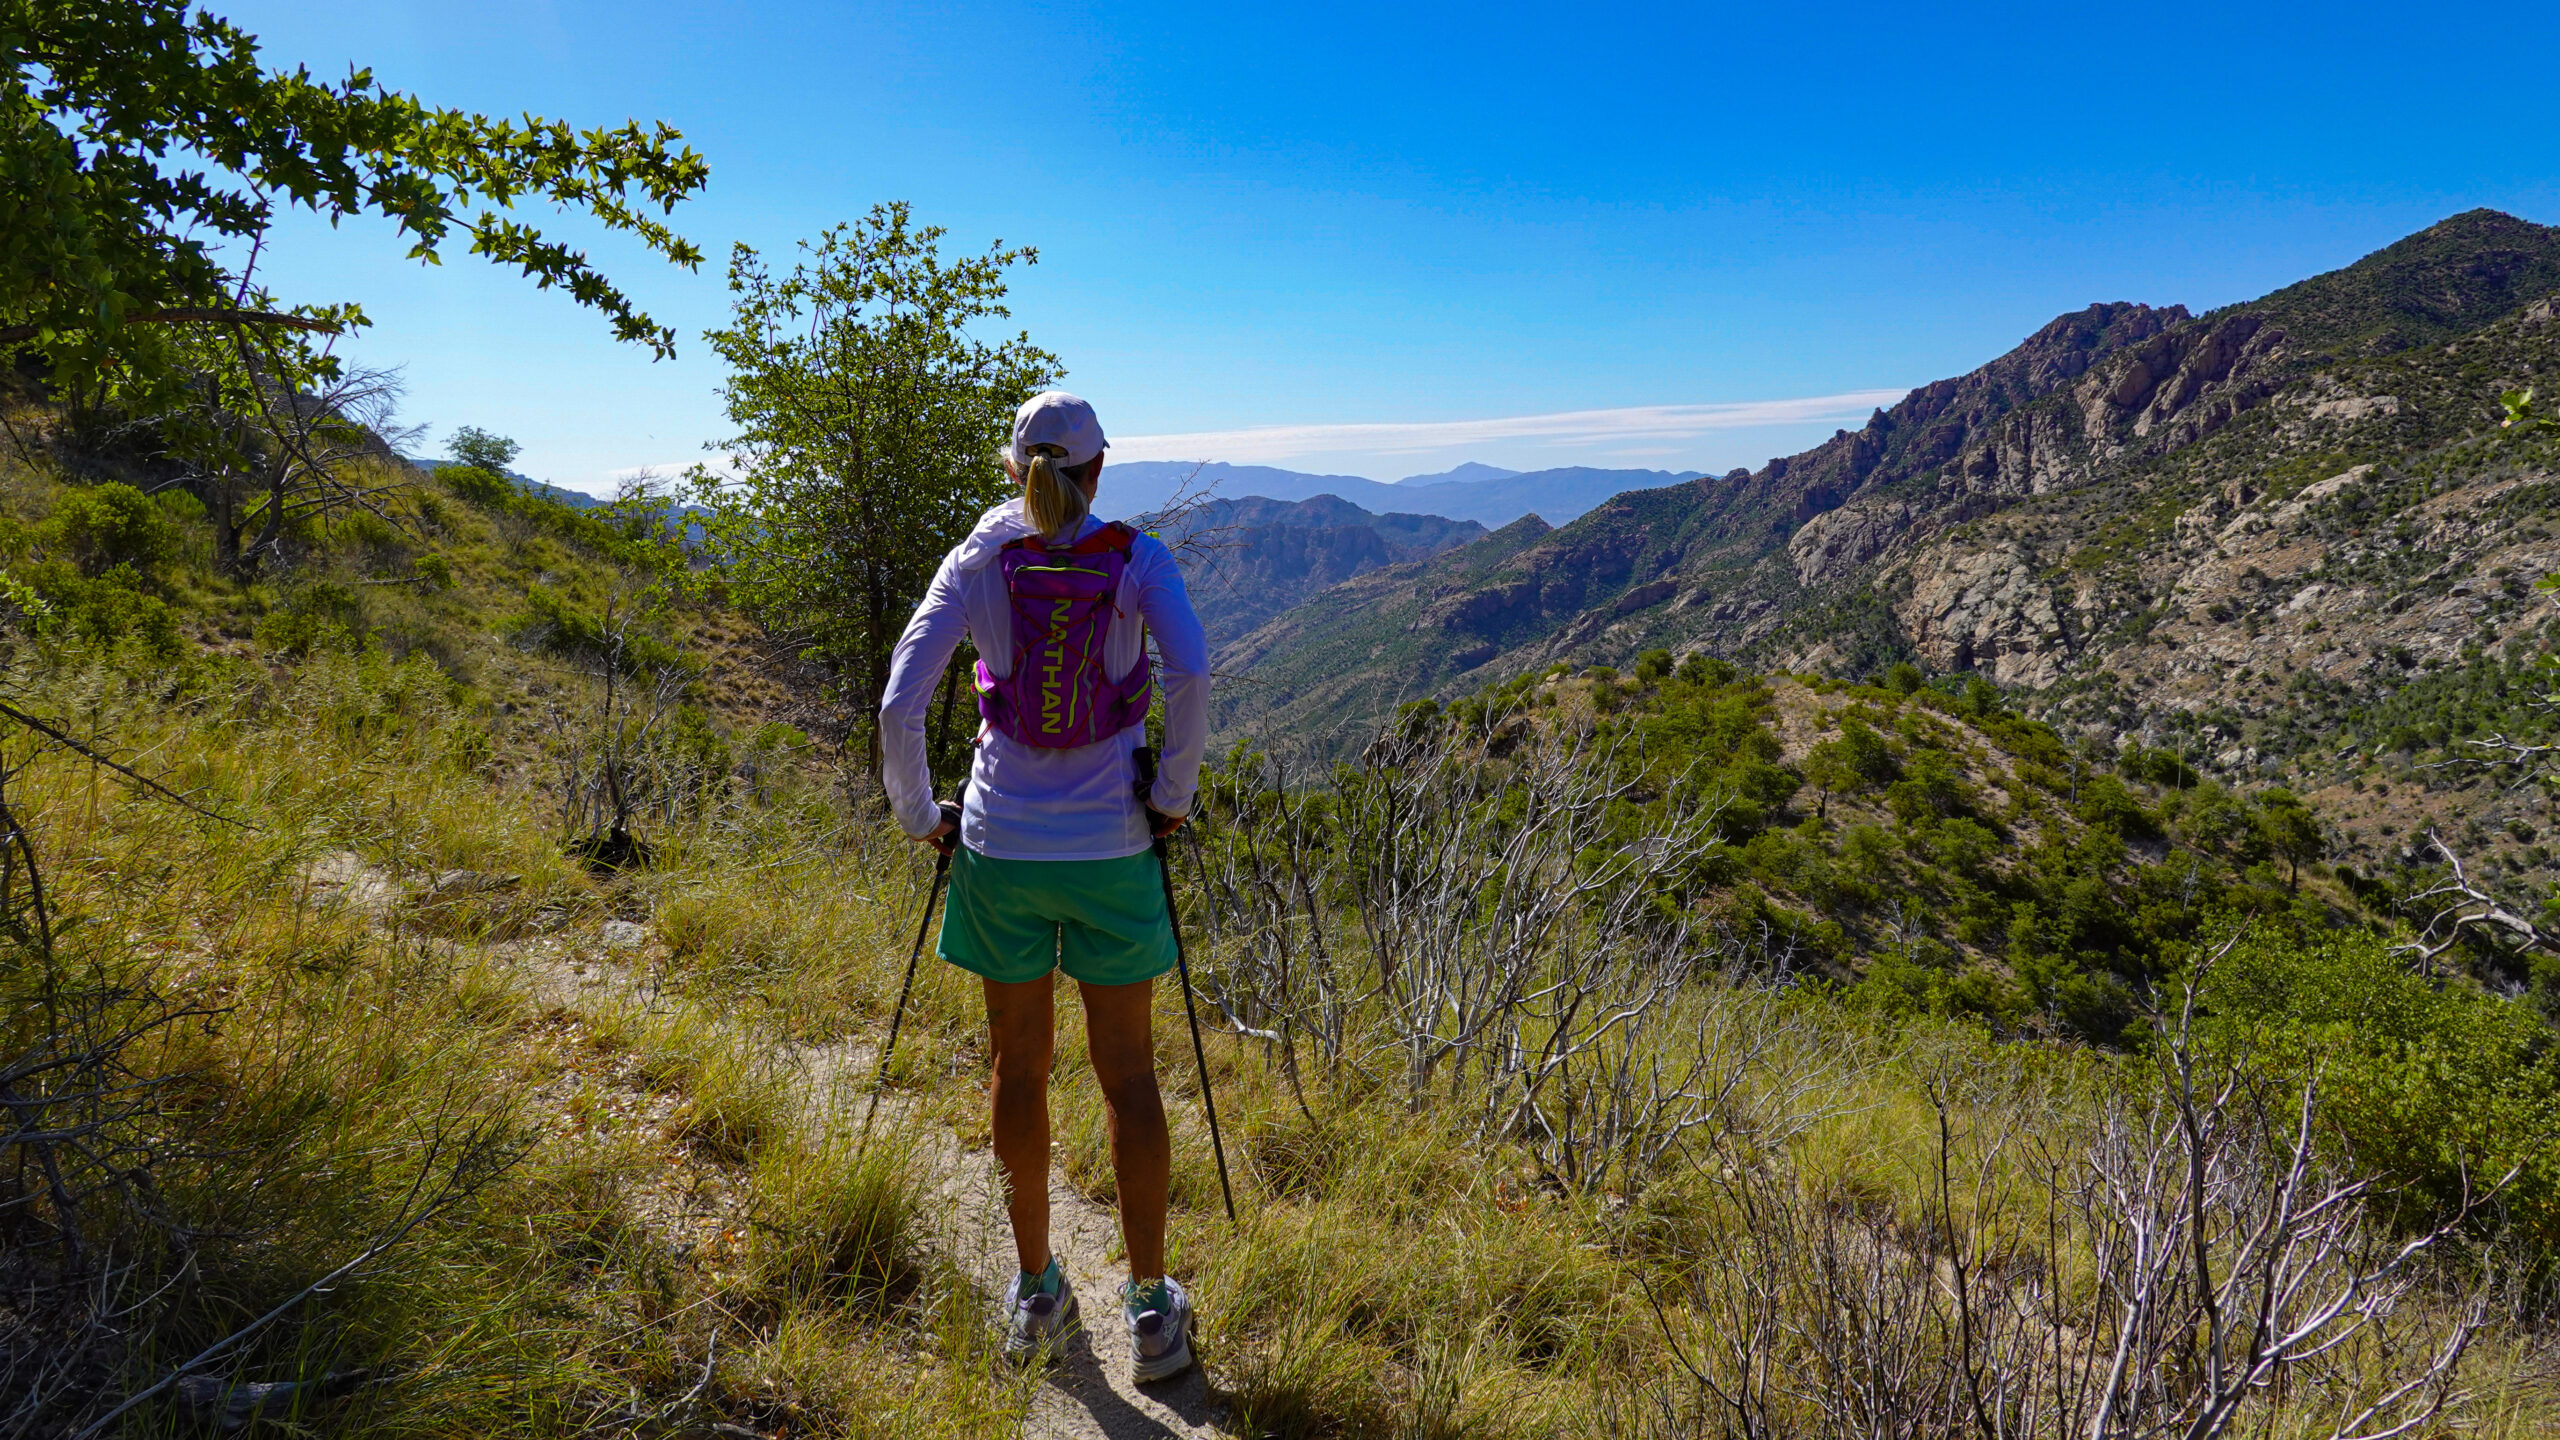
Your adventure truly begins as you connect to the Phoneline Trail. This segment provides a moderate ascent with spectacular views of the canyon below. The trail is well-marked but requires careful attention to the rocky terrain. As you climb higher, the desert landscape gradually gives way to oak and juniper trees, signaling your entrance into a more temperate zone.
Climbing Higher: The West Fork and Hutch’s Pool
After tackling the Phoneline Trail, you’ll transition to the West Fork Sabino Trail. This is where the hike’s difficulty ramps up significantly. The path becomes steeper and more rugged, demanding a good level of fitness and determination. The reward, however, is worth every step. As you ascend, you’ll encounter Hutch’s Pool, a natural oasis perfect for a refreshing dip. This spot, surrounded by towering cliffs and fed by cool mountain streams, is a highlight for many hikers.
The Grueling Ascent: Romero Pass to Mount Lemmon Trail
Leaving Hutch’s Pool behind, the trail continues to climb towards Romero Pass. This is arguably the most challenging section, with steep switchbacks and an elevation gain that can test even seasoned hikers. The vegetation becomes denser, and the air cooler as you push towards the summit. Romero Pass offers breathtaking panoramic views, a moment to catch your breath and appreciate the vast wilderness you’ve traversed.
Final Stretch: Summit to Summerhaven
From Romero Pass, you’ll connect to the Mount Lemmon Trail. This final leg of the journey takes you through lush pine forests, a stark contrast to the arid desert floor you left behind. The trail here is less strenuous, allowing you to enjoy the serene beauty of the high-altitude environment. As you approach Summerhaven, a charming mountain village, the sense of accomplishment is immense. You’ve just completed one of Arizona’s toughest hikes.
Tips for the Trail
- Preparation is Key: This hike can take anywhere from 8 to 12 hours depending on your pace. Start early to avoid the midday heat and give yourself plenty of daylight.
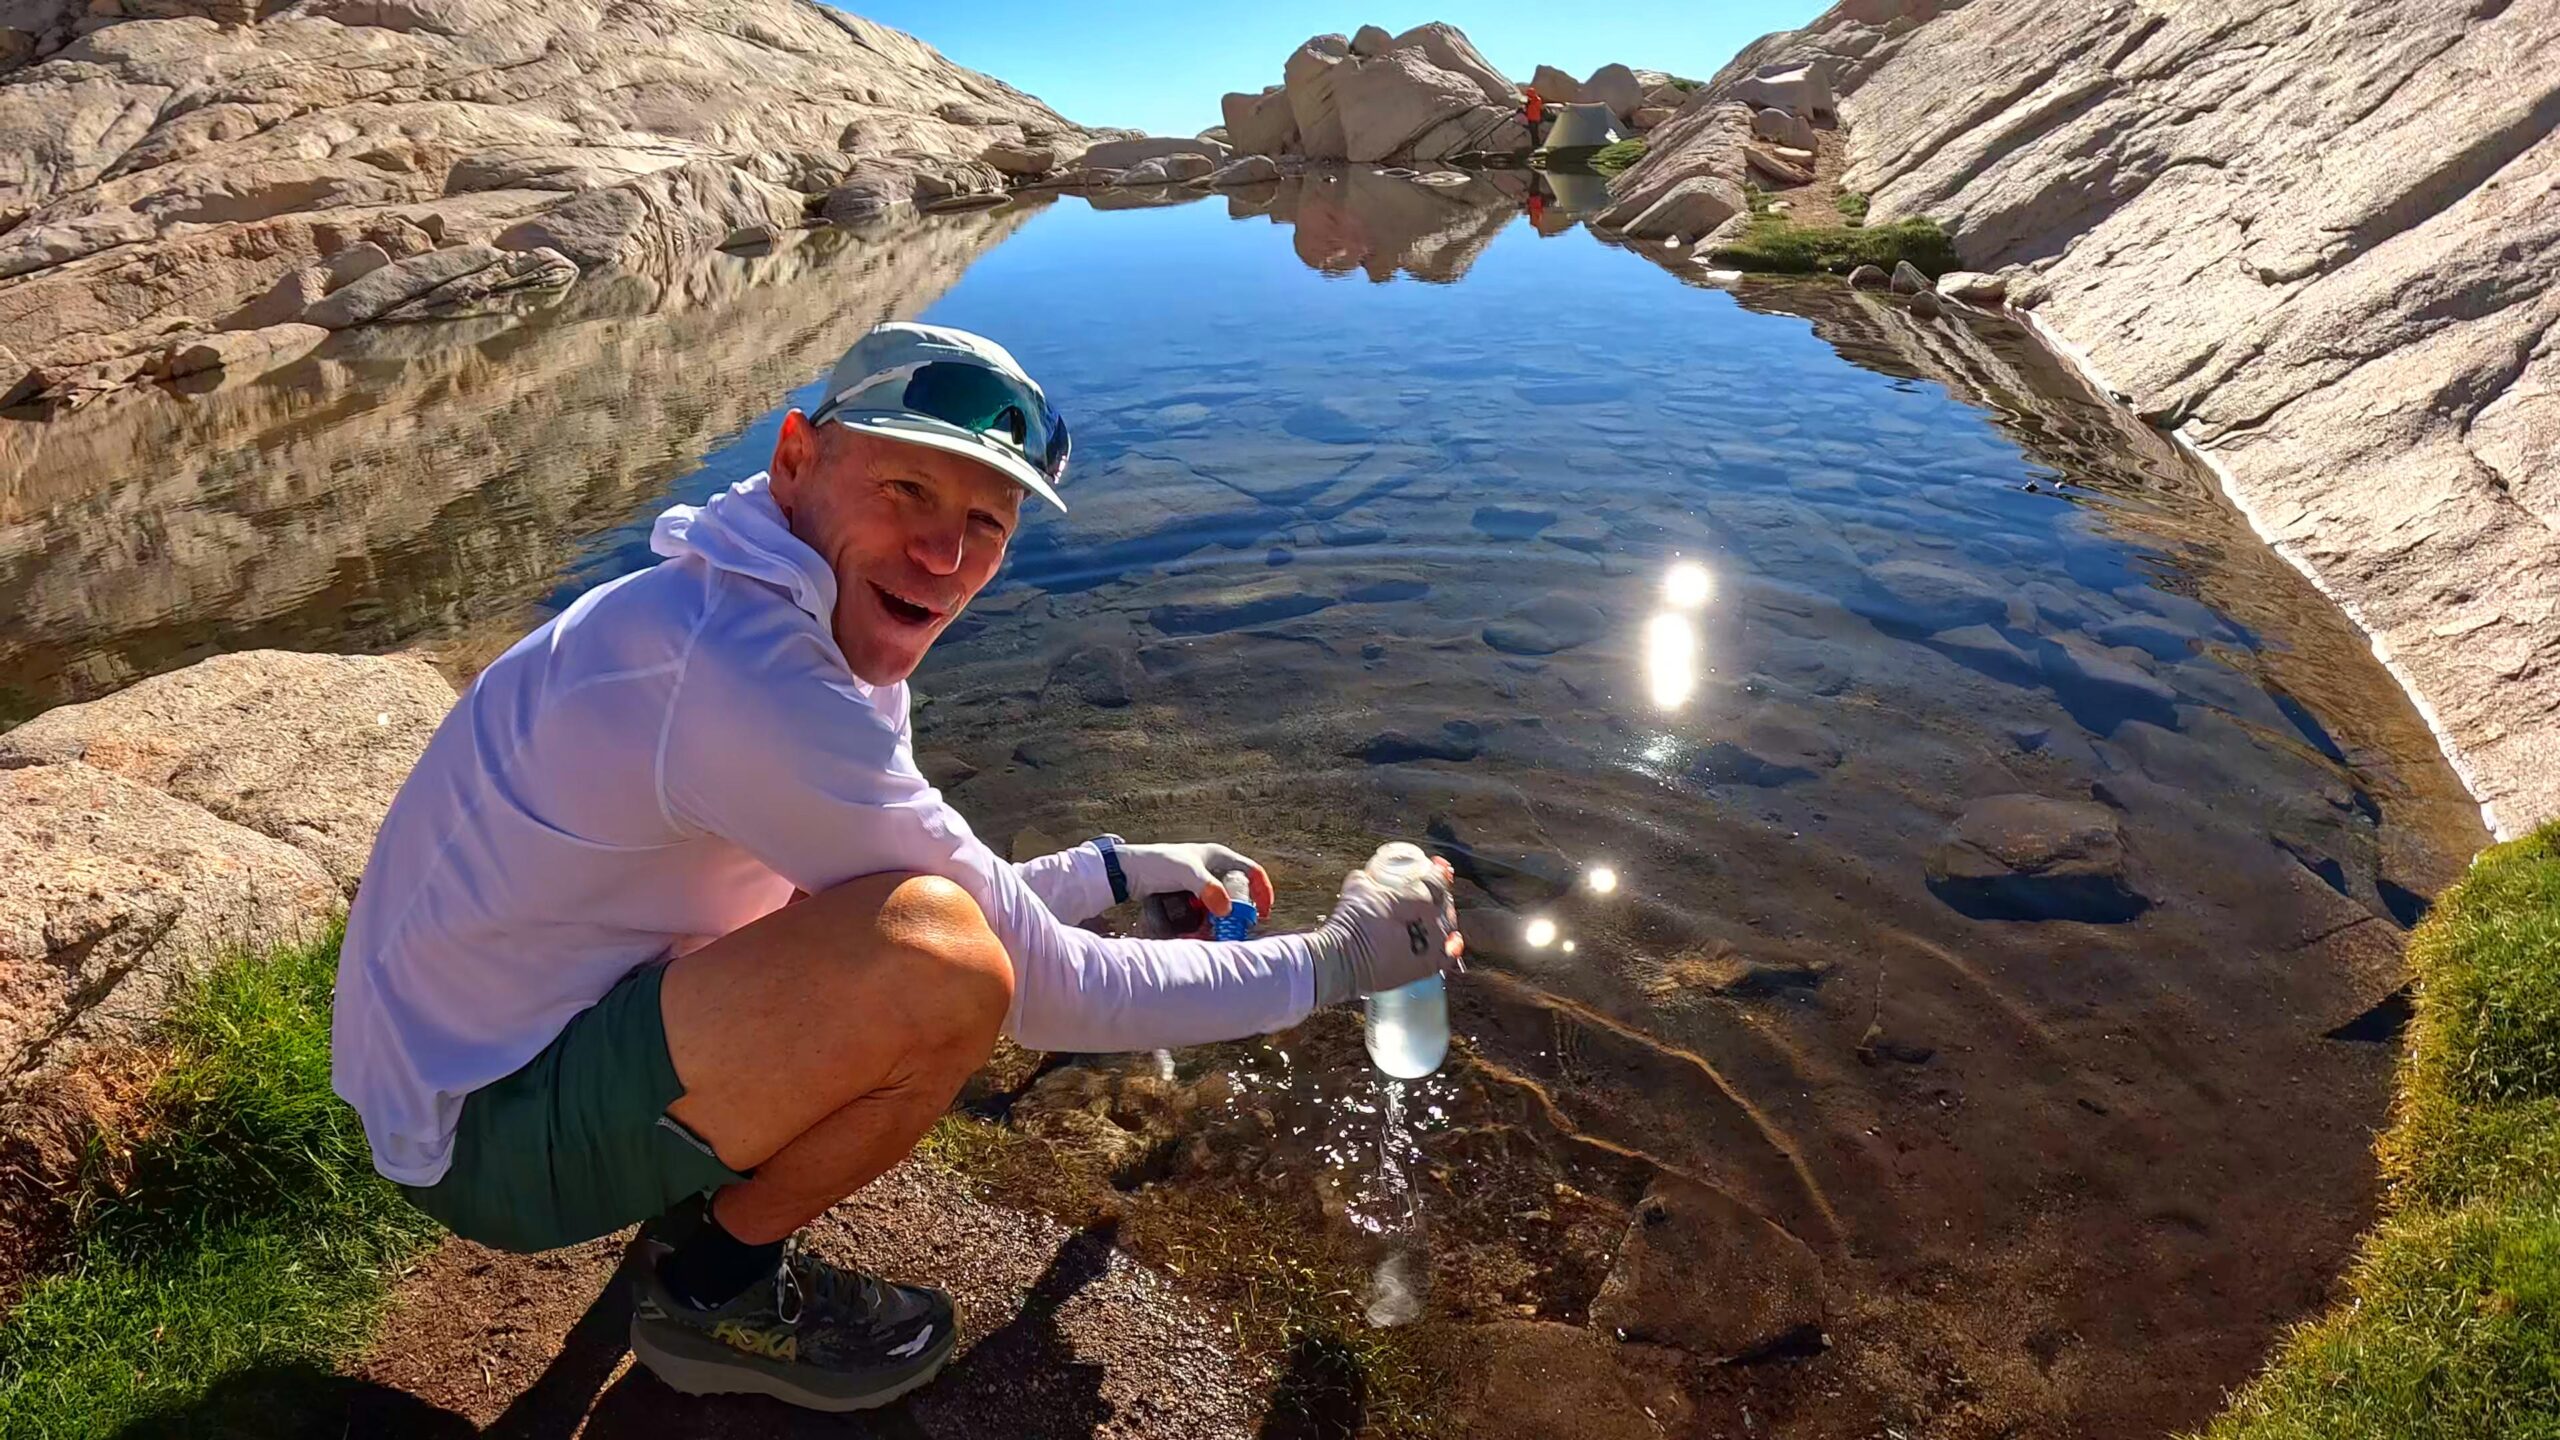
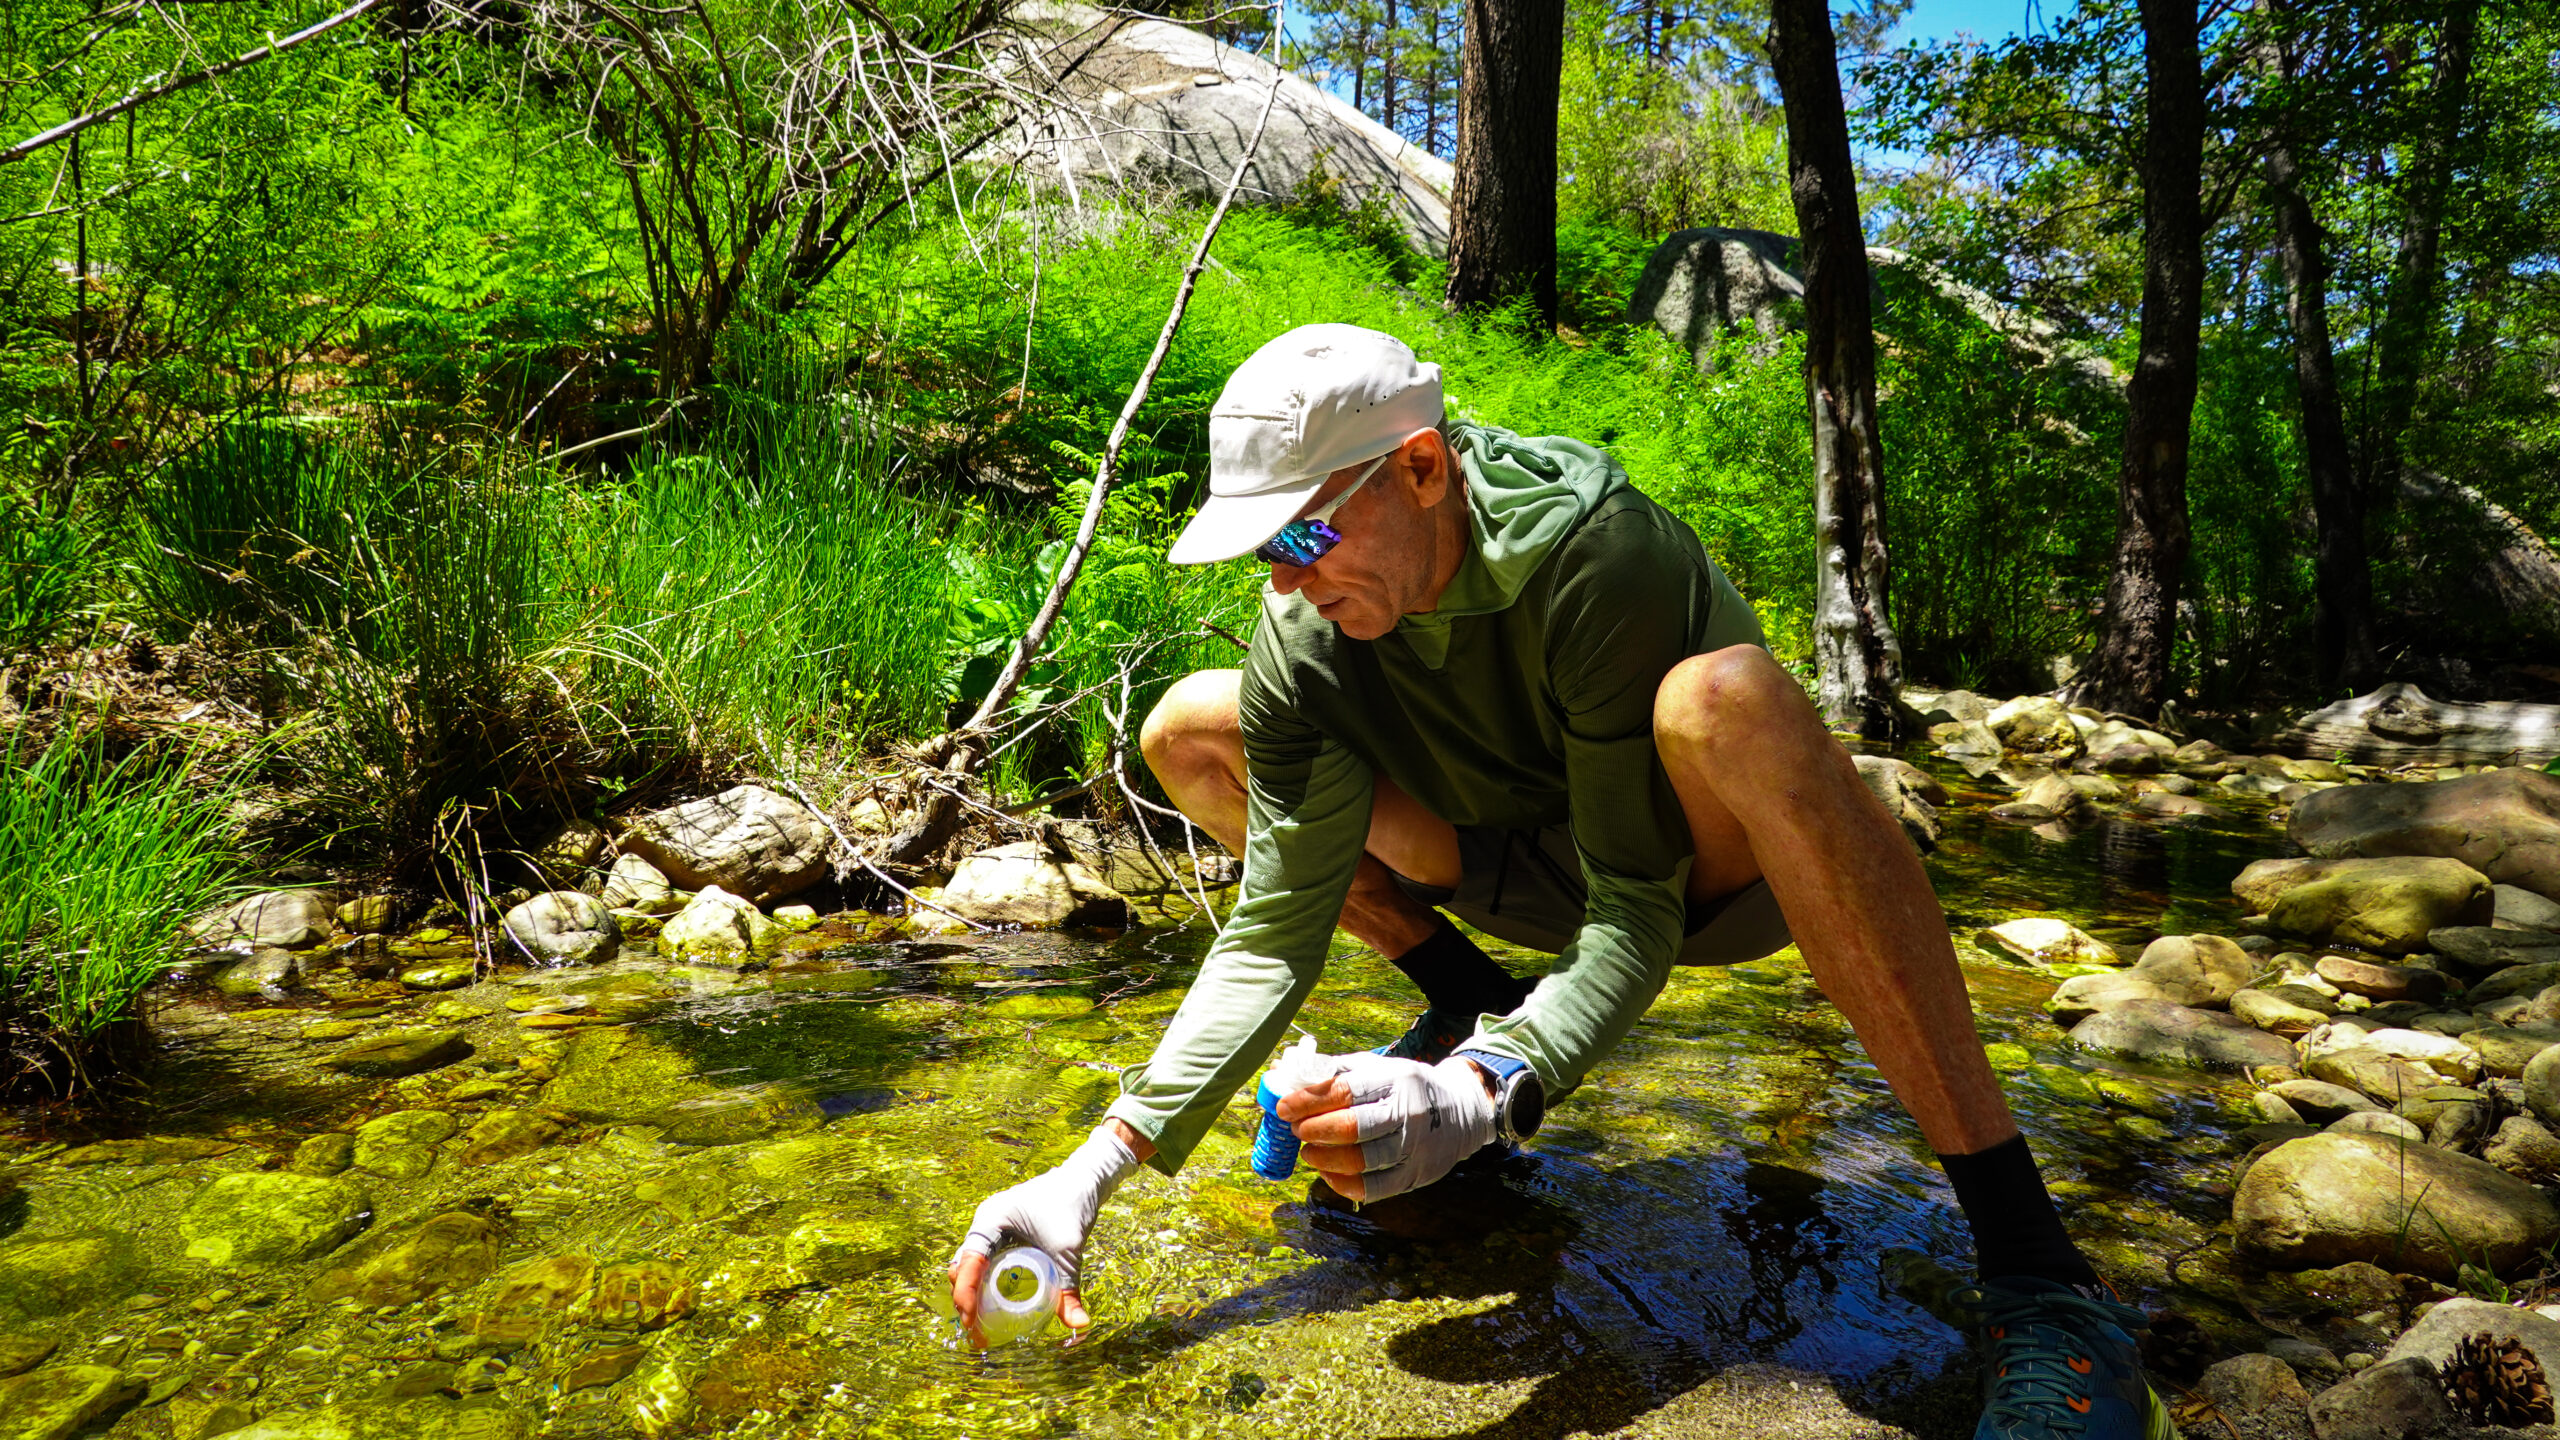
- Hydration and Nutrition: Carry ample water—bring a way to filter water—and high-energy snacks. The change in elevation can be taxing, and you’ll need to stay fueled and hydrated.
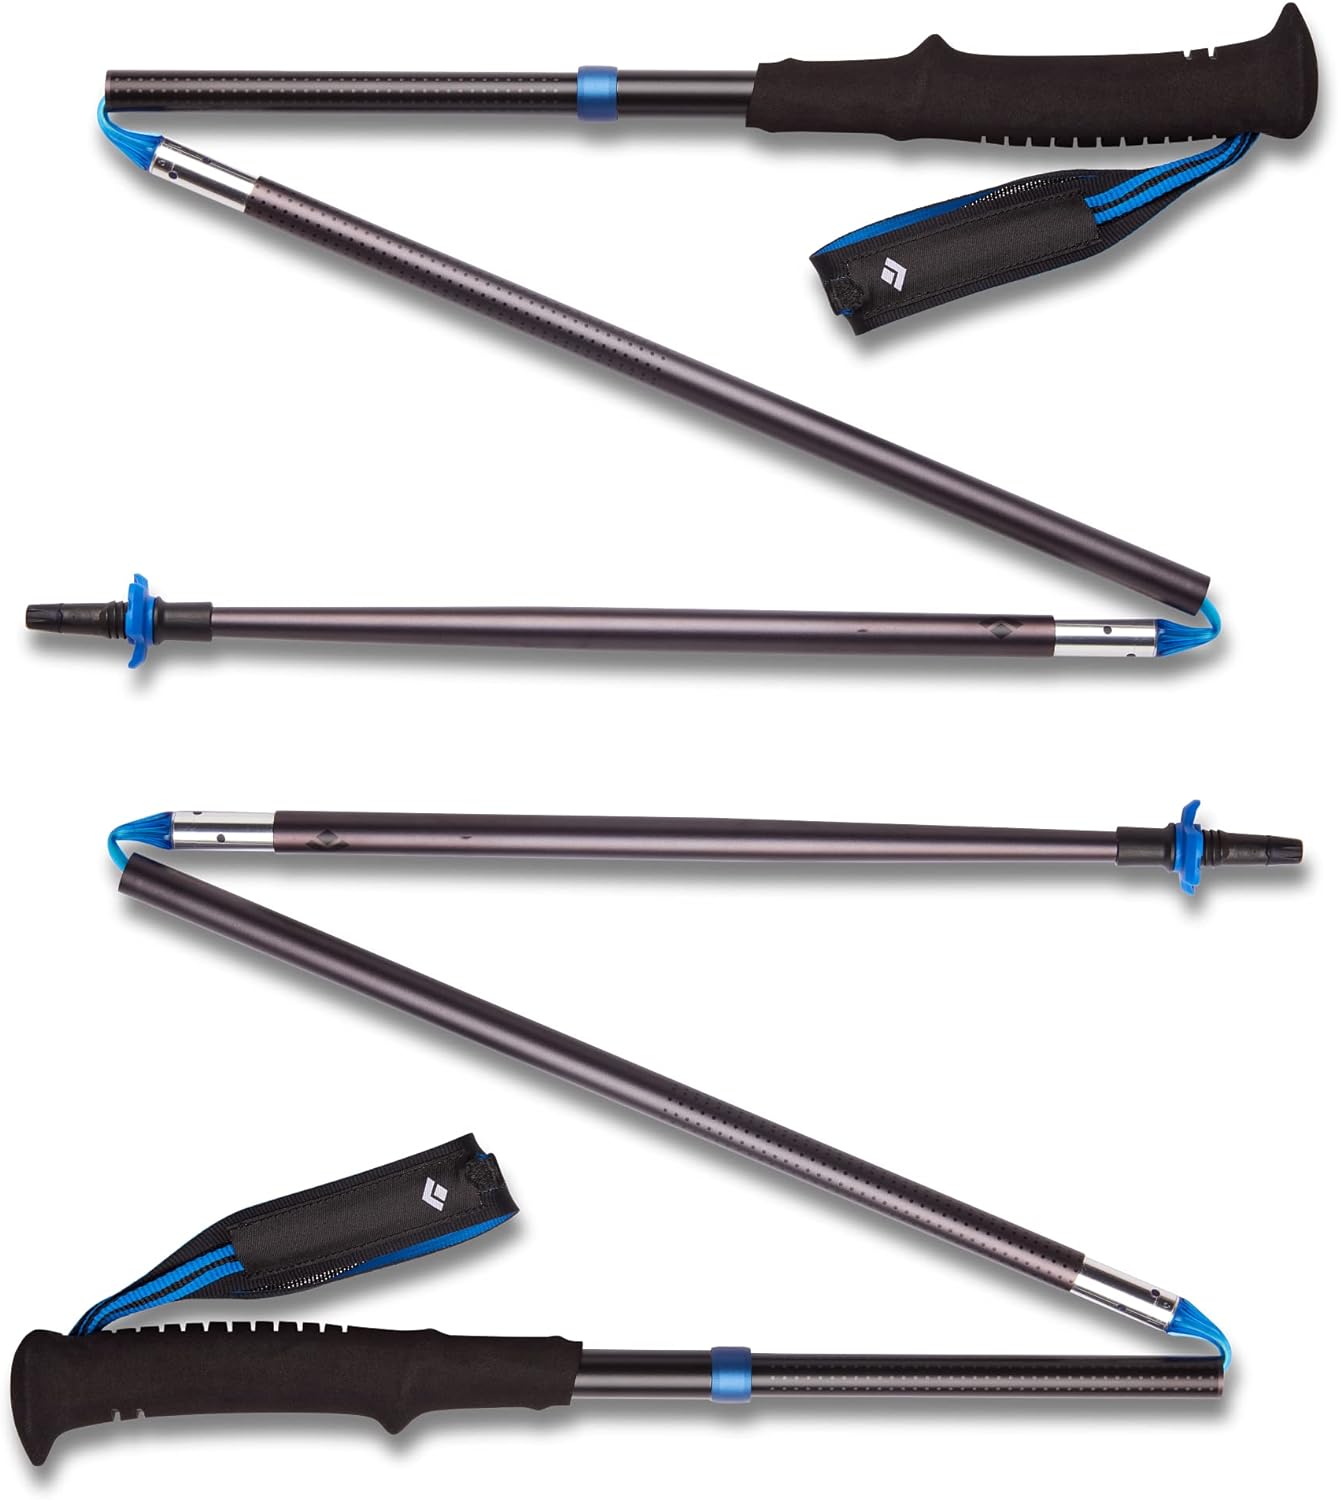
- Proper Gear: Sturdy hiking boots with good ankle support are essential. Trekking poles can also be beneficial for the steeper sections.
- Navigation: While the trail is marked, it’s always wise to carry a map and a GPS device. Cell service can be unreliable in the mountains.
- Weather Awareness: Mt. Lemmon’s weather can be unpredictable. Check the forecast before your hike and be prepared for sudden changes, especially during monsoon season.
Sabino Canyon Parking Lot
Map of Hike: Sabino Canyon to Marshall Gulch
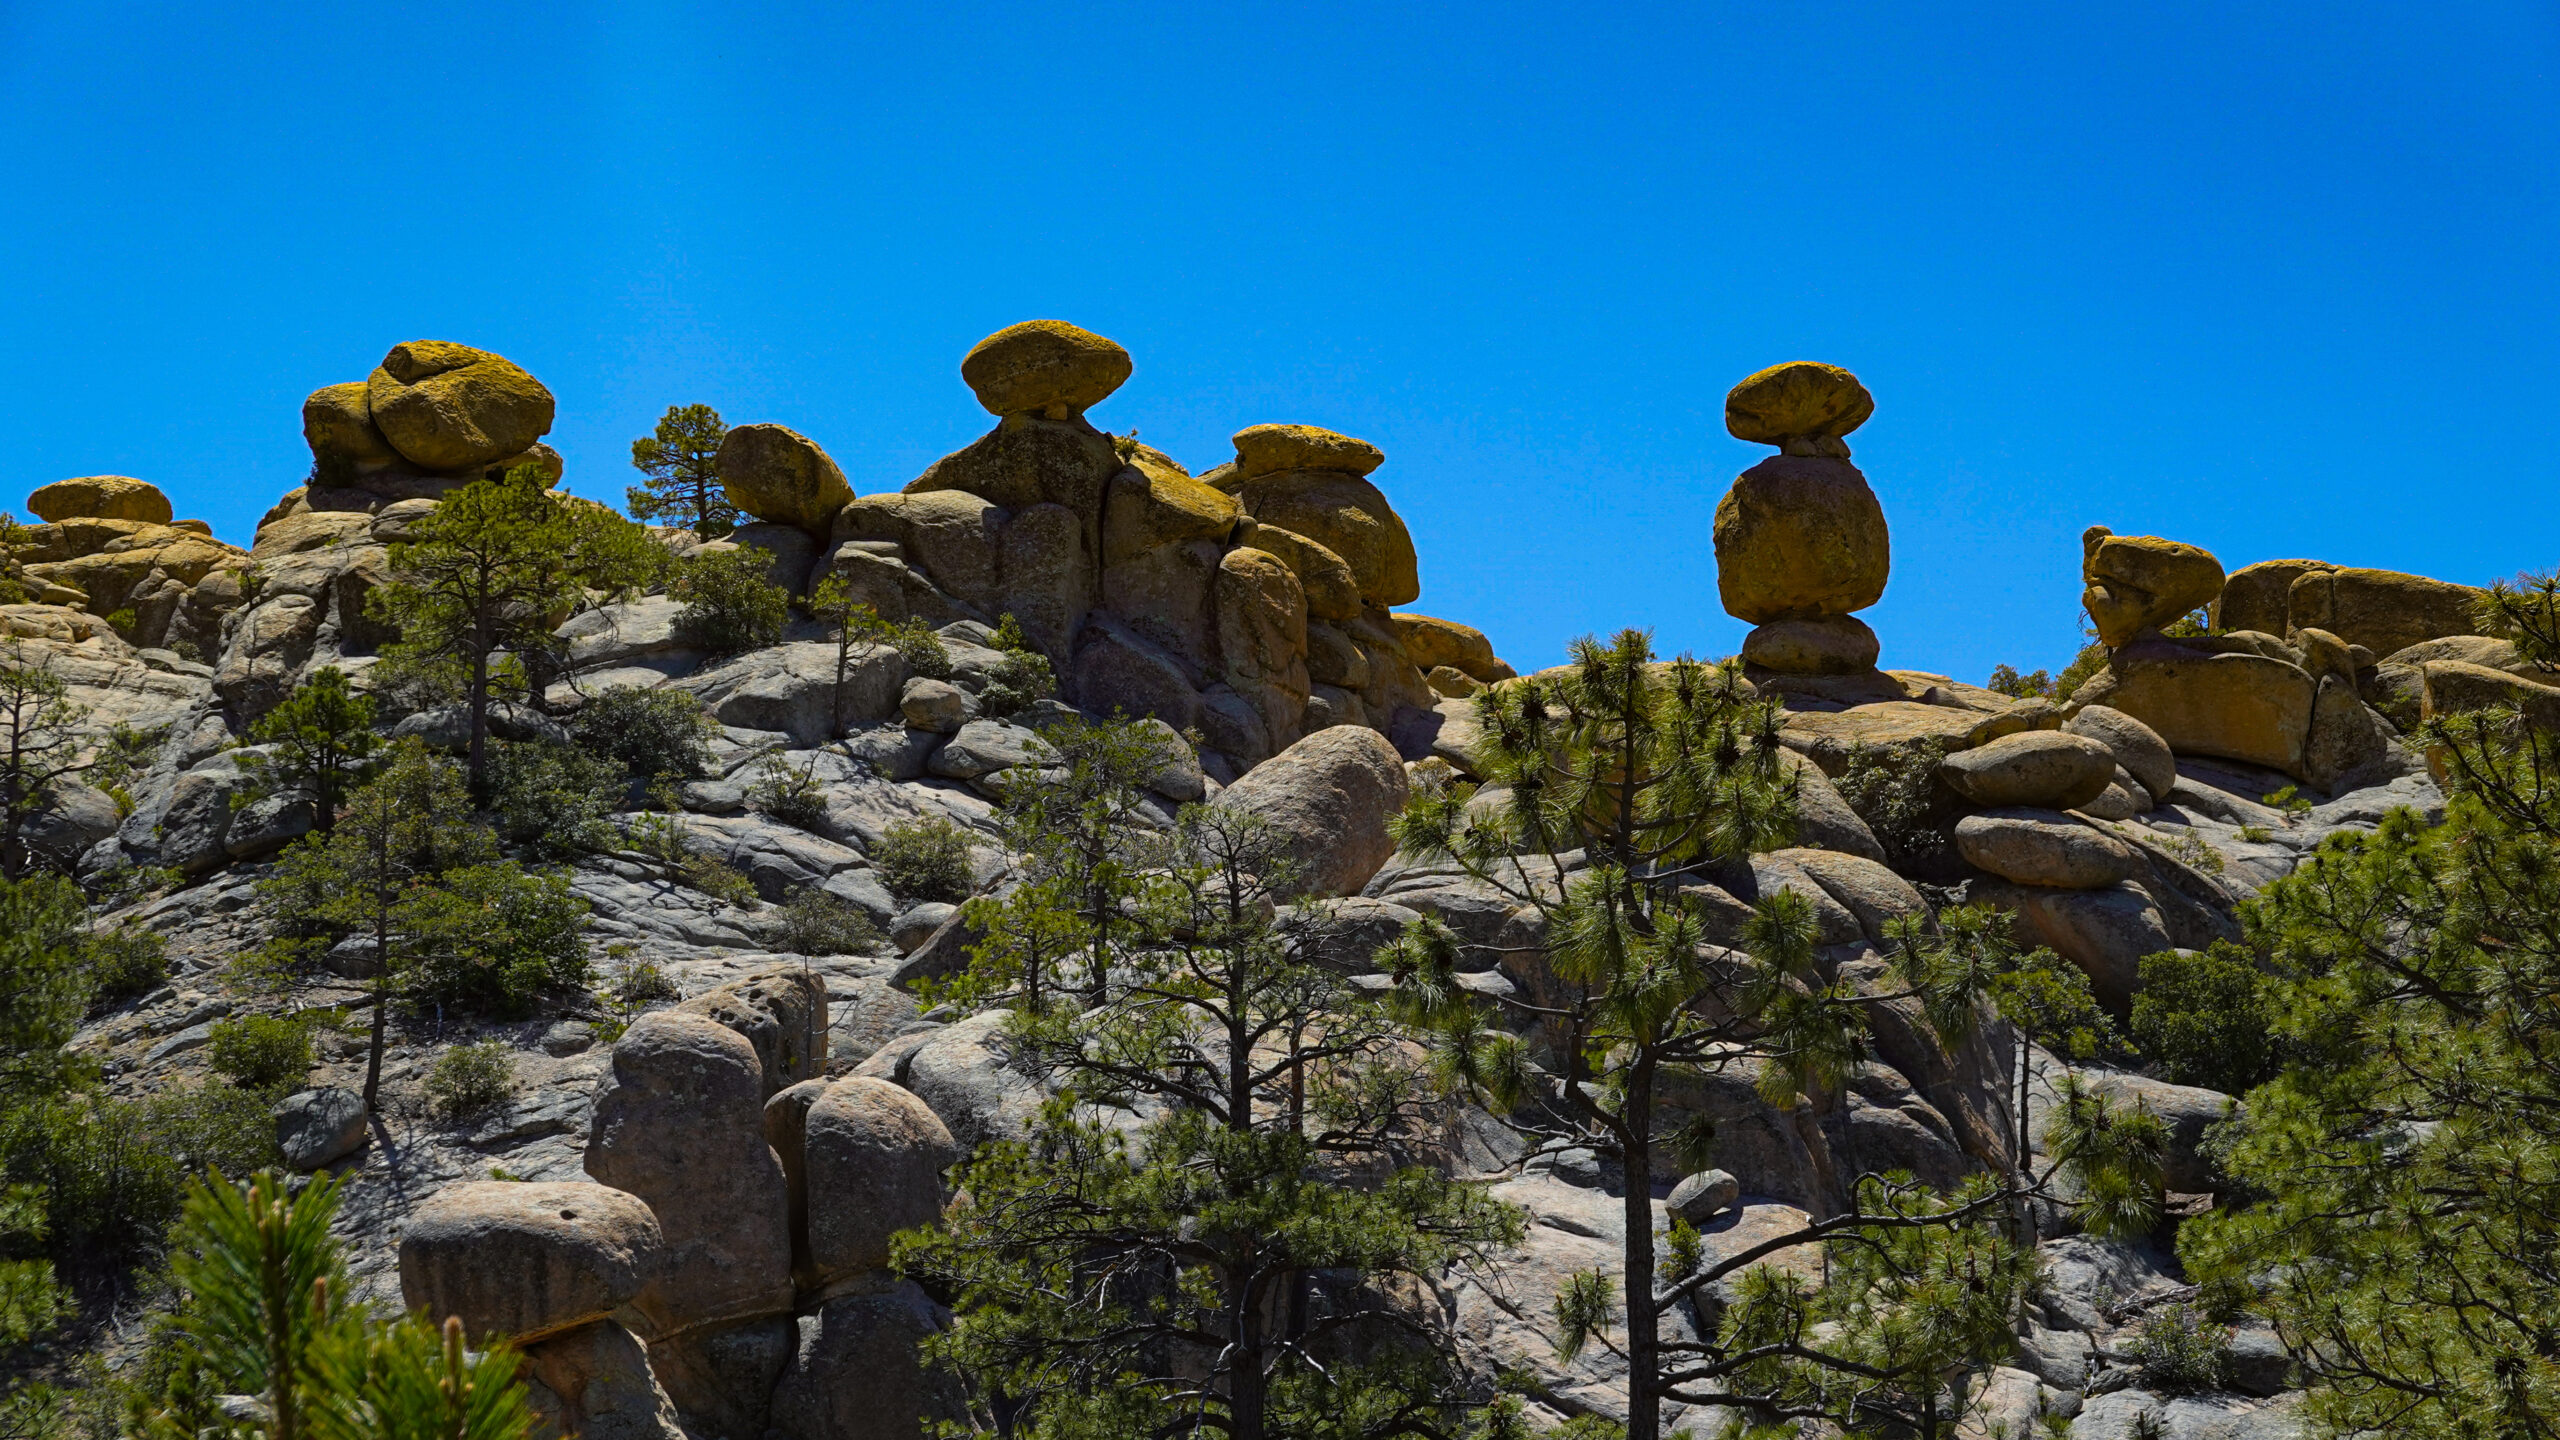
Photos of Hike
Conclusion
Hiking from Sabino Canyon to Summerhaven is more than just a physical challenge; it’s a journey through diverse ecosystems and a testament to Arizona’s natural beauty. This demanding trek, with its stunning vistas and varied terrain, offers an unforgettable experience for those willing to take on the challenge. So lace up your hiking boots, pack your essentials, and set out on an adventure that will leave you with stories to tell and memories to cherish.
Disclaimer
This hike is very strenuous and requires a good level of fitness and preparation. Always hike with plenty of water, appropriate gear, and let someone know your plans before you go.
GEAR WE USED ON THE HIKE TO SUMMERHAVEN





SONY RX100 COMPACT CAMERA
Having a quality camera helps capture epic pictures. Although not inexpensive, the Sony RX100 is worth the cost. It is compact and lightweight, and it beats carrying a full-body camera for a long hike. The Sony RX100 is our go-to camera and was the perfect setup for the hike up to Summerhaven.
Other Hikes To Consider
If you liked Arizona’s Toughest Hike, check out the link below for some other hikes in the area you may enjoy as well.
SIMPLY CLICK ON THE LINK BELOW
HIKING GEAR CHECKLIST
Heading out for an ultra run or a hike takes planning and the proper clothes, equipment, and nutrition.
There is nothing worse than finding out you forget something.
Having a checklist of your essential items is very helpful in setting yourself up for success when hitting the trail.
Below is a link to our essential hiking and ultra-running gear checklist. For each hiking and ultra-running adventure, we print out and check off the items before heading out the door.



Wow, a great hike and village. Information was very helpful.
Thanks Dave for checking it out!
[…] Click Here: To Learn More About Hiking Mt Lemmon […]